

When West Elm fails, you do it yourself. The idea to hang succulents in the loft got stuck in my head, and I had the hardest time finding suitable hanging pots. I wanted something small with no hole in the bottom, but the few (emphasis on few) things I found were pretty pricy. So I gave up and made them myself.
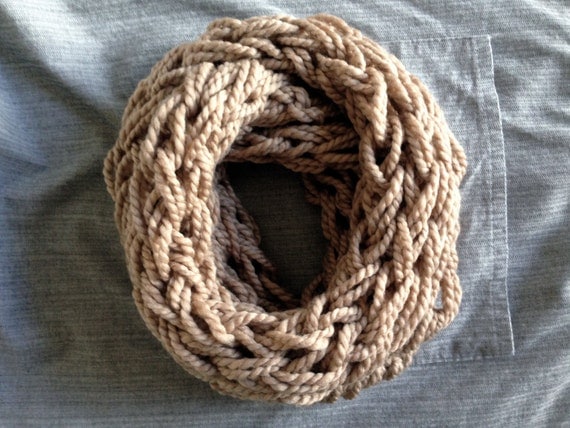
Making a hanging pot is easy. I used mason jars and jute twine (and a lil super glue because I’m extra cautious). The mason jars I had at home, and the jute was a few dollars at Michael’s. I used a combination of these two tutorials to make the hanger: refinery29 and henhouse. They have better pictures than I have, but I’ll try to walk you through my steps.
- Cut 4 lengths of twine 6 feet long each.
- Fold in half and make a loop. Gather all the pieces together and line them up. Fold them in half and make a simple loop and knot it.
- Separate the 8 strings into 4 groups of 2. I found it easiest to work on the floor. I put the loop around my big toe, and this provided a tension that made working with the twine easier.
- About 19 inches from the top of your loop, make a knot in each pair of strings. I found holding all the strings with my toe made it easy to align all the knots. After making the first one I could eyeball where the others should be.

- Make 4 more knots by taking the left string of 1 pair and tying it to the right string of another. I made the second set of knots about 1.5 inches lower than the first set. I wasn’t very exact about these and never measured any of them. The design is forgiving of slight variation. In the picture below I’ve made 3 knots in my second row. Then I tied the far left string to the far right.

- Repeat step 5 to make a third row of knots.
- Gather your 8 strings together and tie in a knot about 1.5 inches below the third row. Cut the tassel if necessary, and test to see if it holds the pot and is the right length. Then I decided the put a little super glue in the seams of this knot. It should hold on its own, but you know.


My hanger ended up being just over two feet (26″) from tip to tail with the jar in it. The bottom of the jar rests at 22 inches.
When planting the succulents I put a layer of sand or rocks in the bottom of each jar for drainage, and I mixed sand with the regular potting soil I already had, roughly half and half. I bought four types of two-inch succulents from my local nursery for $2 each.
 I love the way they look. Hopefully I don’t kill the plants.


they look so good! I wish I had a loft so I could do this!
These look great! Are your plants still alive?
So far so good!
Plant update?